
How to Build an Art Easel
This page contains affiliate links for which we may be compensated
Last updated: July, 2026
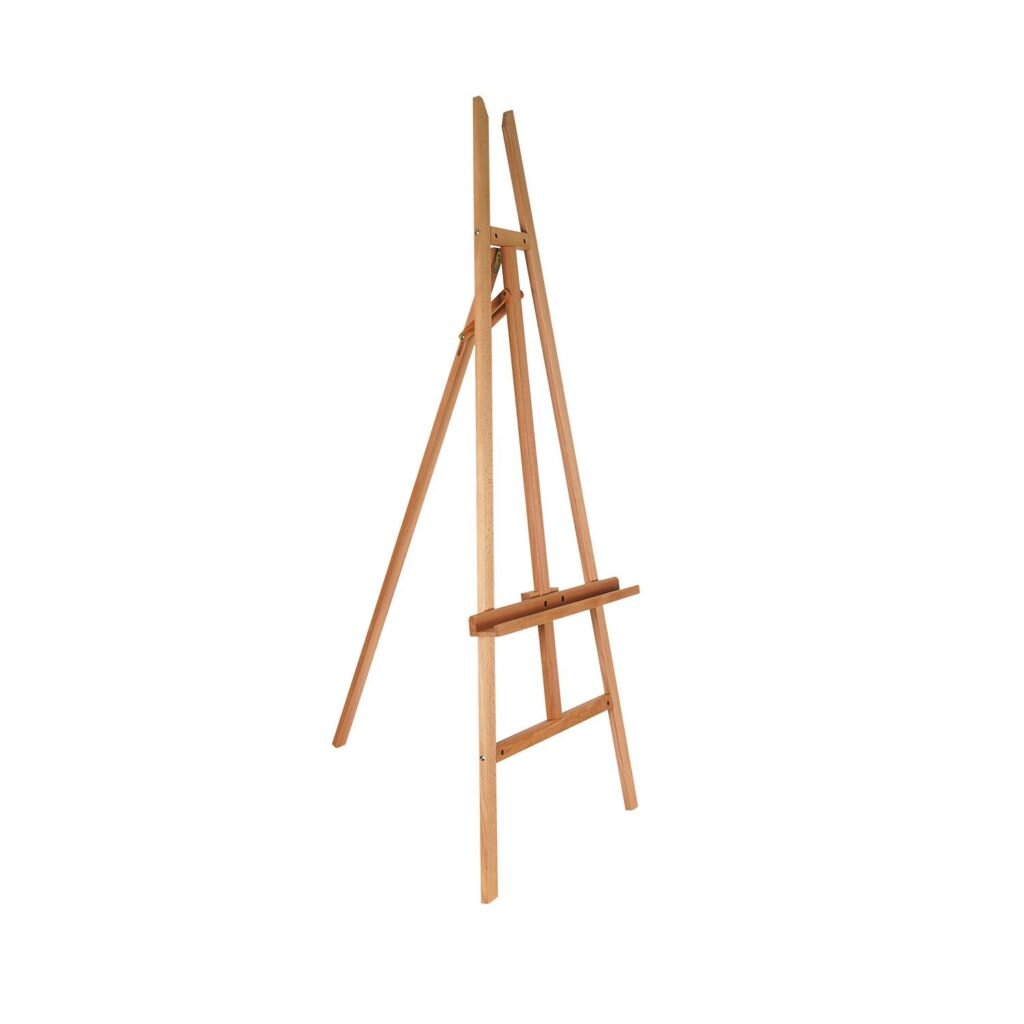
An art easel is an essential tool for any budding artist, providing a stable and adjustable surface to work on. Building your own art easel can be a rewarding and cost-effective project that allows you to customize it to your specific needs. In this guide, we will take you through the process of building an art easel, step by step.
If you find building your own art easel more difficult than anticipated. You can view our article listing some great easels you can buy.
Materials Needed
Before getting started, gather the following materials:
- Two 6-foot lengths of 1×2-inch lumber
- One 6-foot length of 2×2-inch lumber
- Wood screws
- Wood glue
- Table Saw
- Drill with bits
- Sandpaper
- Tape measure
Steps:
Step 1: Cutting the Lumber
Begin by cutting the lumber to the desired lengths. For a standard-sized art easel, you will need:
- Two pieces of 1×2-inch lumber measuring 6 feet long for the legs
- Two pieces of 1×2-inch lumber measuring 2 feet long for the top support
- One piece of 2×2-inch lumber measuring 2 feet long for the bottom support
Use a saw to make clean, straight cuts, and sand down any rough edges.
Step 2: Assembling the Legs
Take the two 6-foot lengths of 1×2-inch lumber and lay them parallel to each other on a flat surface, with the narrow edges facing up. These will be the legs of the easel. Position them so that they are about 2 feet apart.
Step 3: Attaching the Top Support
Next, take the two 2-foot lengths of 1×2-inch lumber and position them horizontally across the top of the legs, about 6 inches down from the top. These will serve as the support for holding the art canvas. Use wood glue and screws to attach them securely to the legs.
Step 4: Adding the Bottom Support
Now, take the 2-foot length of 2×2-inch lumber and position it horizontally across the bottom of the legs, about 6 inches up from the bottom. This will provide stability to the easel. Attach it to the legs using wood glue and screws.
Step 5: Reinforcing the Joints
To ensure the easel is sturdy, reinforce all the joints with additional screws and wood glue. This will prevent wobbling or instability while painting.
Step 6: Finishing Touches
Once the easel is assembled, sand down any rough edges and apply a coat of paint or wood stain if desired. Allow it to dry completely before using.
Step 7: Adjusting the Angle
Most art easels have an adjustable angle to accommodate different painting techniques and preferences. To achieve this, you can add hinges or bolts to the top support, allowing it to tilt forward or backward as needed.
Frequently Asked Questions (FAQs)
Conclusion
Building your own art easel can be a fun and rewarding project, and it doesn’t require advanced carpentry skills. By following these steps and using basic materials, you can create a sturdy and adjustable easel that will support your artistic endeavors for years to come. So gather your materials, roll up your sleeves, and get ready to unleash your creativity!